
5 TOP TIPS TO HELP YOU CREATE BEAUTIFUL FAMILY PHOTO BOOKS
Do you have thousands of photographs of your family, but no idea how to start compiling them into a beautiful photo book? Which online company should you use? How do you choose which photos to include? What’s the best way to organise the layout ? Today, I’m sharing my 5 top tips for compiling beautiful family photo books.
TIP 1 – GET ORGANISED BEFOREHAND!
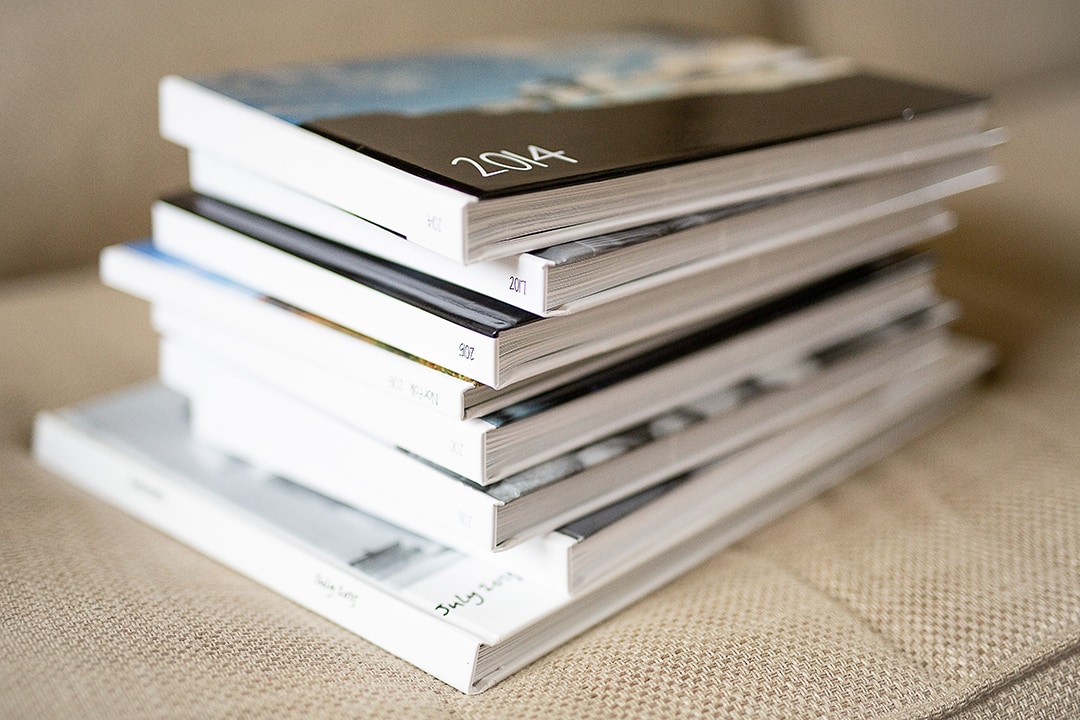
The main key to successful photo books is getting organsied beforehand. Sort and file your photographs ready to upload. I save and file my photographs by month and year. In each month’s folder, I make a separate file called ‘yearbook photos’ and I put copies of my favourites photos from that month into it. I also do this on my mobile phone! This way, when it comes to the end of the year and I’m ready to start my family photo book, I have all the photographs I want in 12 neat monthly folders in date order.
Some online companies allow you to upload into multiple folders online, allowing you to input your photos by month into the book too!
Top Tip – There are ALWAYS great deals on photo books in January, after the Christmas gift rush. Lots of companies allow you to purchase ‘credits’ for a photo book. This gives you up to one month to upload, layout and finalise your book rather than having to do it all in one sitting!

TIP 2 – CHOOSING YOUR PHOTO BOOK PROVIDER
This is down to personal taste and what you want from your book.
Photobox.com have lots of options for type of book, layout formats, and you can even upload photos directly from social media. Bob books have some beautiful high quality paper finishes and smart clean layouts. These are perfect for creative stylish photo books. Vistaprint have a limited range of paper finishes but easy to use design software and a large range of layout options. Truprint offer smaller postcard size books that are great value for money. They make gorgeous gifts for friends and family. Shutterfly is another great value option with good photo quality reproduction and plenty of templates to help you with layout.
Do your research and choose one that suits you and the type of book you want to create.
TIP 3 – DESIGNING THE LAYOUT
When designing your layout, less really is more! Just as composition is important when taking a photograph, you should think about composition when designing your layout too.
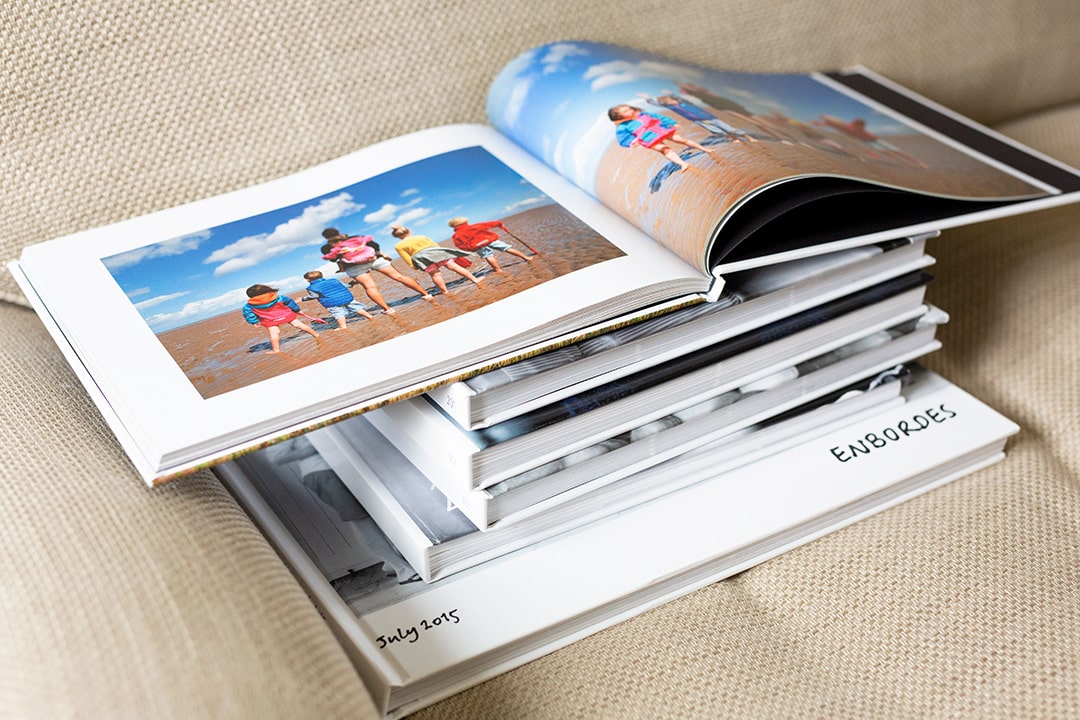
Don’t try and crowd too many photos onto one page. If you put too many pictures on one page, it will leave you squinting at each one! Make use of they layflat options available from most providers and fill a double page spread with one beautiful image. It gives your shot centre stage. Don’t be afraid of ‘white space’ around your photographs either. It gives your book a stylish modern feel.
Try to vary the layout on each page. This makes it far more interesting to look through. Most providers allow you to take a pre-designed layout and customise it to suit your style by changing the size of each shot or adding and removing apertures.
TIP 4 – STORY TELLING AND GROUPING PHOTOGRAPHS
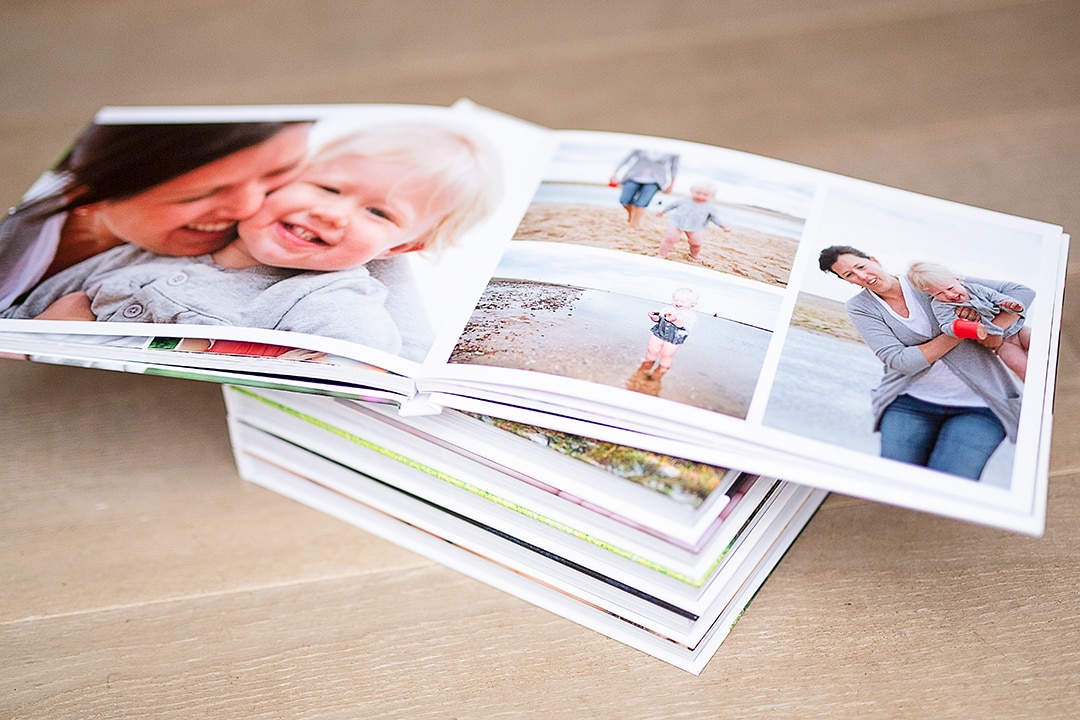
When it comes to putting the photographs into the layout, I generally arrange mine in date order. However, I’m careful to choose photos that tell a story together. For example, take one double page spread for all the photos from a family outing. Take another two pages for photos from a birthday party, and a separate page for shots from Christmas day. Mixing photos from different events on the same page becomes confusing for the viewer.
By grouping certain events together, you’ll also be consistent with colour and tones rather than placing light sunny beach shots alongside darker photos of fireworks night!
Consider if you’d like to include captions. You may find in years to come, you can’t remember a certain place you visited or the date of a special occasion. Make sure though, your captions are simple and short and fit the style of your book!
TIP 5 – THINK OUTSIDE THE BOX
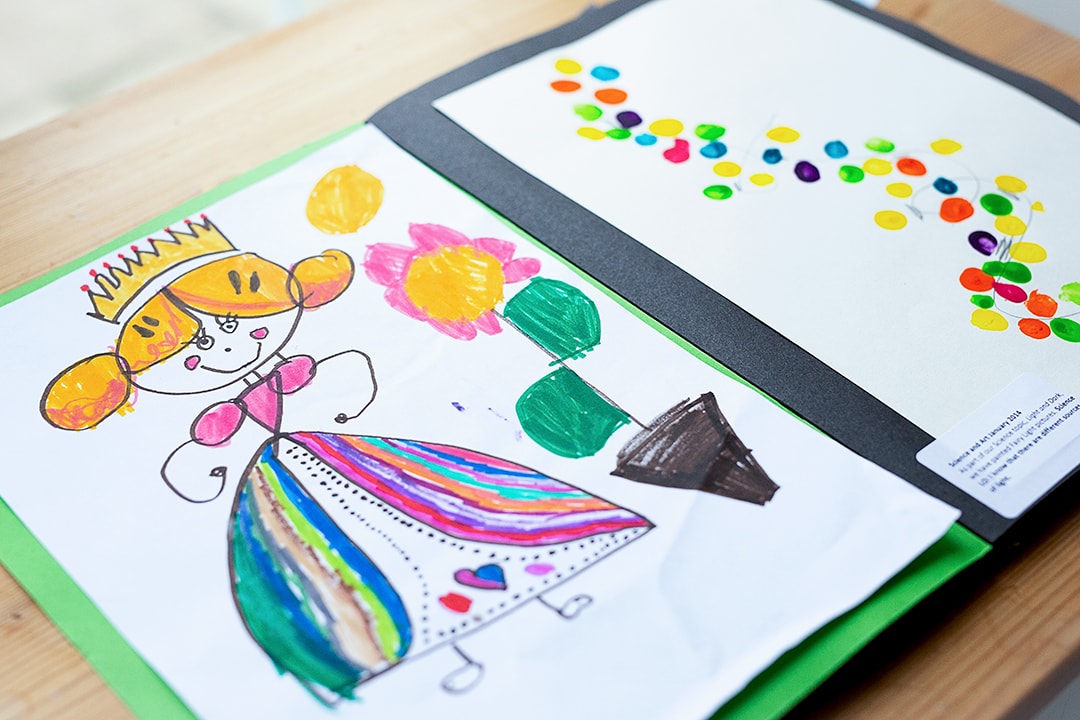
Photo books these days don’t have to be just about photos. There are plenty of other mementos or memories you can include. Your child’s artwork, a certificate from the gym competition they won, a beautiful letter or card you received, or even tickets to an event you enjoyed.
If you have a scanner at home, simply scan the things you want to include and save the jpeg images in your ‘yearbook photos’ folder ready to upload with your photographs. If not, you can photograph the things you want to include. It’s best to use a DSLR camera, but if not, just use your smartphone.
Lastly, a family photo book is a memento for you to love and treasure forever. It should include the photographs you love, whether they are beautifully composed breath-taking shots, or simple selfies taken on your phone!
MORE INFORMATION
Louisa Williams is a family photographer based near Cambridge and working throughout Cambridgeshire, Suffolk and the surrounding areas. If you’d like some beautiful family portraits, you can find more details about her family sessions here. If you’re ready to book and would like to secure your session date, please drop an email to louisafrenchphotography@gmail.com.
Louisa also offers beginner’s photography tuition for parents. Learn how to use your DSLR camera to take better photos of your children and family. More information on individual teaching sessions can be found here.
FIND ME
Louisa French Photography
Cambridge Photographer
louisafrenchphotography@gmail.com
Thanks for the good tips. I used to do a photo book for each year and one for each holiday but I’m about 6 years behind! You’ve inspired me to make a start on catching up.
Great news! You wont regret it!
Such great photo book advice here Louise. So important to preserve these times in an easy, portable and beautiful place.
So helpful and important to preserve these times in one beautiful place. Thank you for sharing.
I have 3 boys and we started so well with a yearly album of our favourite photos and this reminds me how important it is to get them done. I have many years of catch up. Thank you:)
Good luck with it Charles – you won’t regret it!
such good tips! i owe my parents a photobook from last christmas and this has given me the push i need to make their book!
Fantastic! I’m sure they’ll love it!
Great tips Louisa! I also do the same although I still haven’t got round to last years album!
They are so good to look back through aren’t they!
Ohh thank you for sharing this. Such great tips.
There’s some brilliant advice in here, Louisa.
I’m dreadful at organising my own family photos, and love your idea of collating them each month. It makes a photo book actually seem achievable… maybe this will be the year that I make my first!
Great tips and it reminds me to get on and order my next photobook too – my kids love looking through the images of them when they were little
Great blog, i also photograph all my kid’s artwork – there’s just too much to store!!
Also – can’t agree more with using white space, and not cramming it in. I hate a page full of tiny photos. White space is your friend is the most helpful thing I read years back, it’s so true!
Great tips – i wonder this supplier did you use for the books in the photos, can I ask?
Great tips, especially the getting organised one!